Ode to the Build...

Okay so I figure who better to share the battle of building my 1993 Integra with then the guys who share the same passion I do.

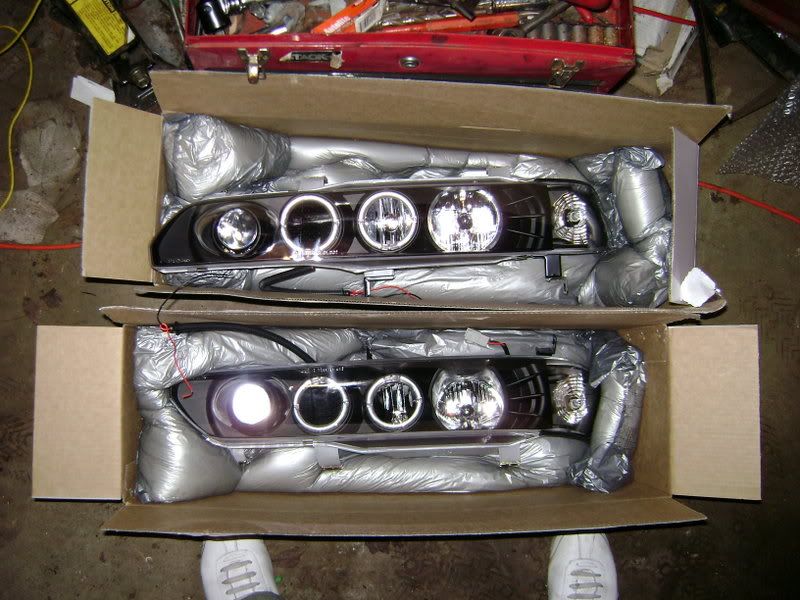
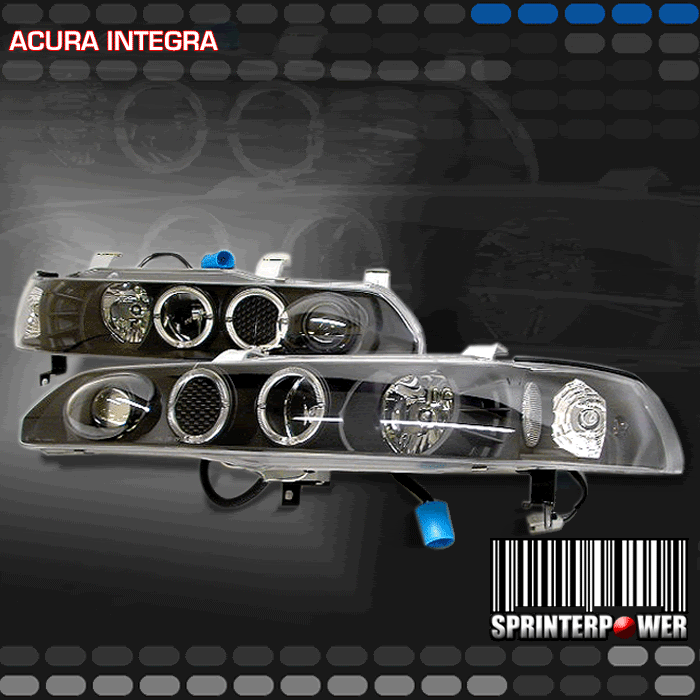
I bought my red 1993 Integra GS in 2007 for $2,000. A little rust but for the most part a clean and un-molested car. Shortly after the bug bit and I began looking at ways to modify it. I began to do the typical thing and do nothing but research and day dream. Then the accident. Nothing big just a shttered headlight and dented hood and fender. But it was the e-bay projectors that gave my initial push to start an actual build. Over the past two years I have bought and saved every deal I could come across. Here are some photos to start things off.

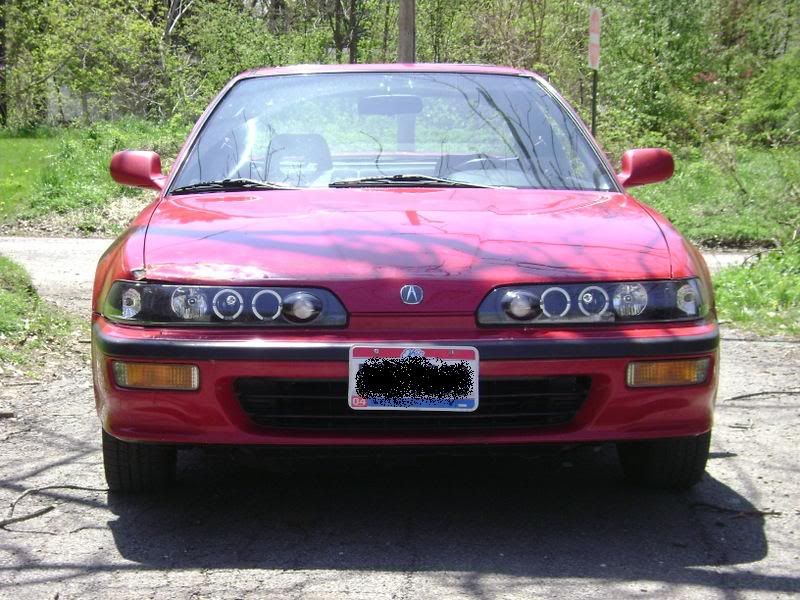
The damage wasn’t so bad, but I justified the purchase of aftermarket headlights with the wife because a new passenger headlight was more then the pair. Ricey I know bu it was a start.

Lol It’s amazing how the boobs on these things don’t really show up in the pics!?!

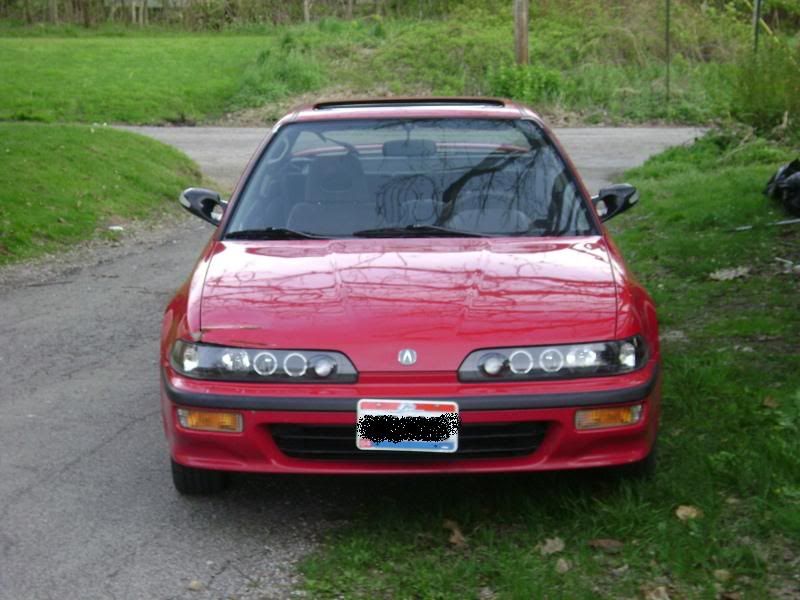
There now those don’t look so bad do they?

Next were the mirrors, though they didn’t last long. Lol The mother in law took one off while backing out of the driveway.

Another damage pic.

Next I began to adress affordable performance parts. $28 fo a Fidanza short shifter curtesy of robearracing.com was right down my alley.

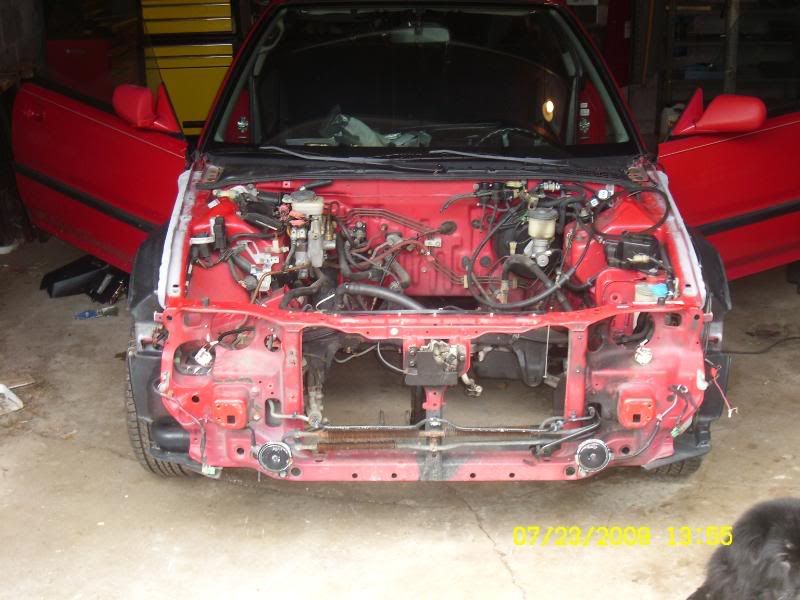
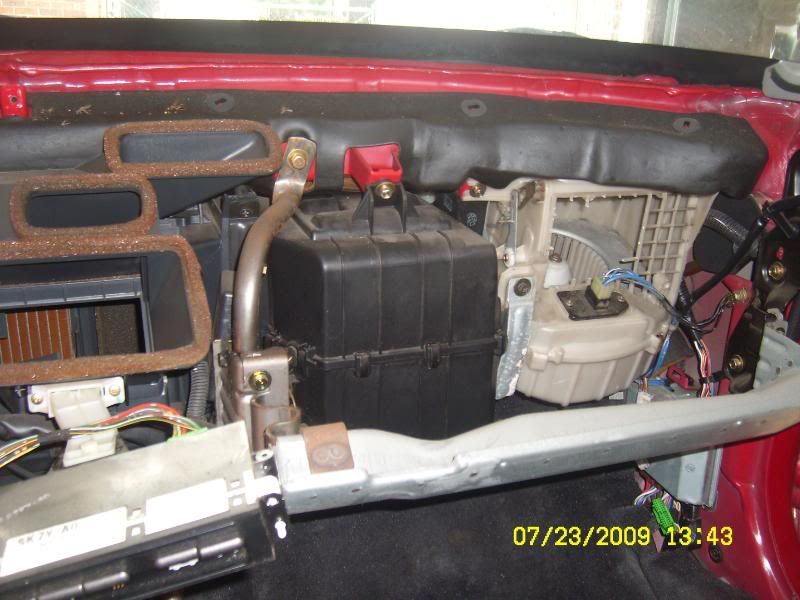
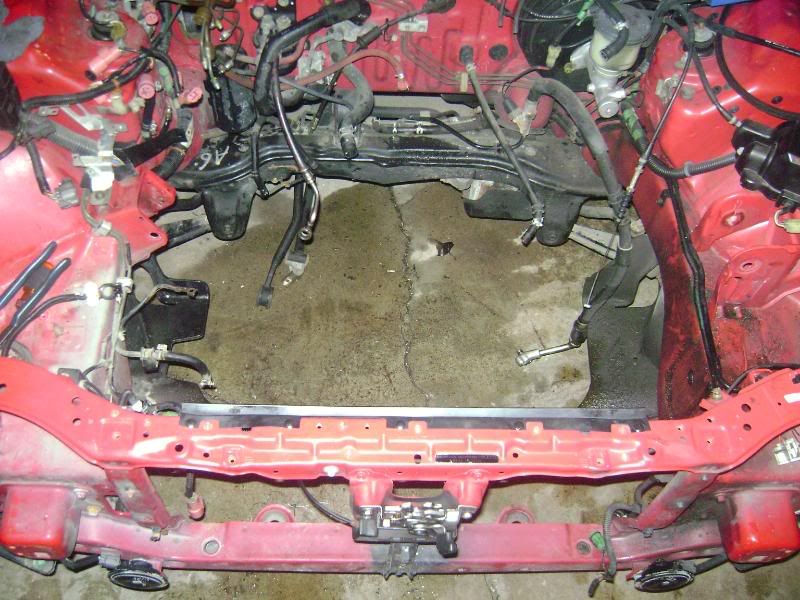
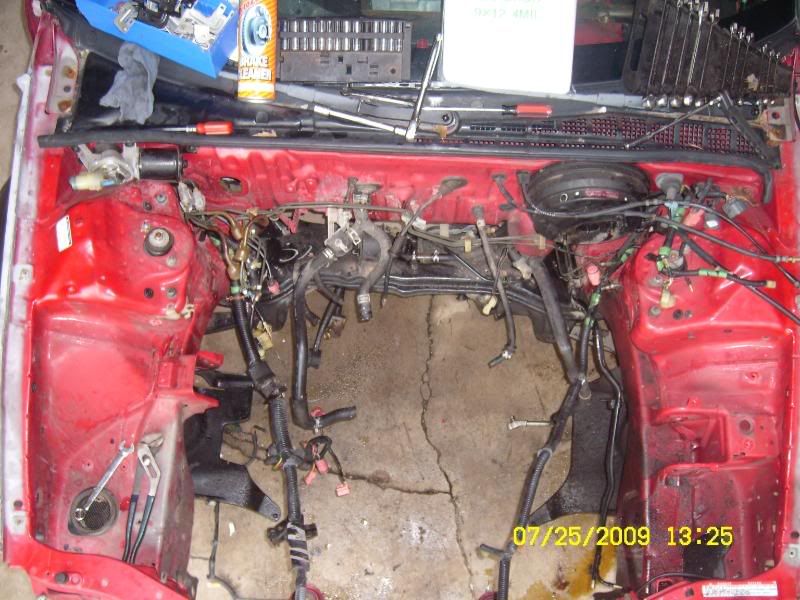
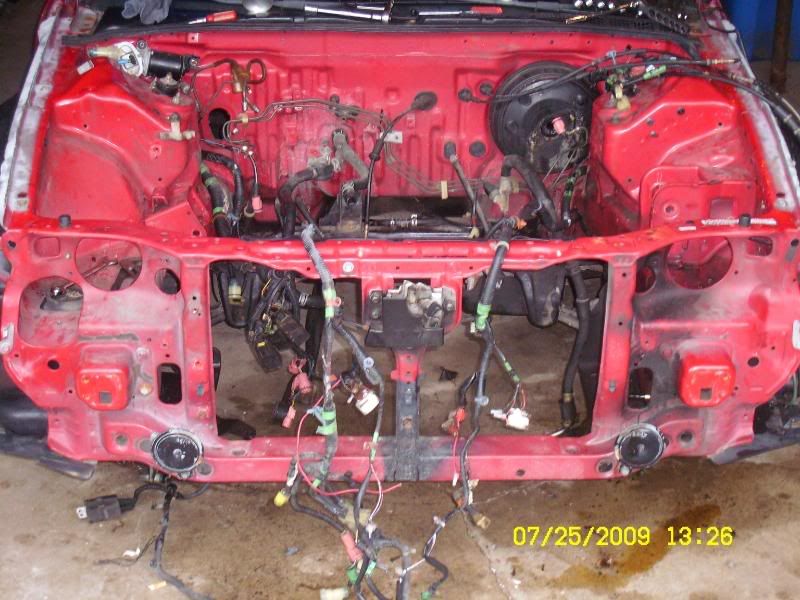
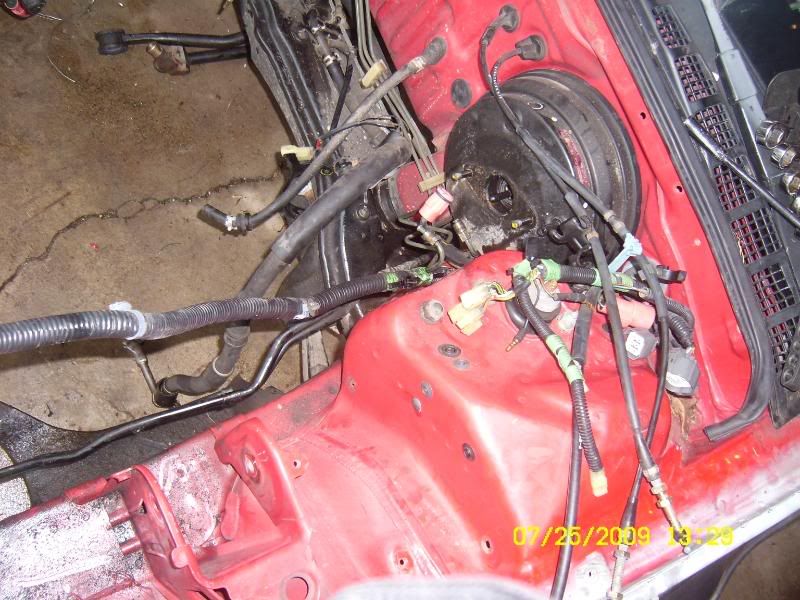
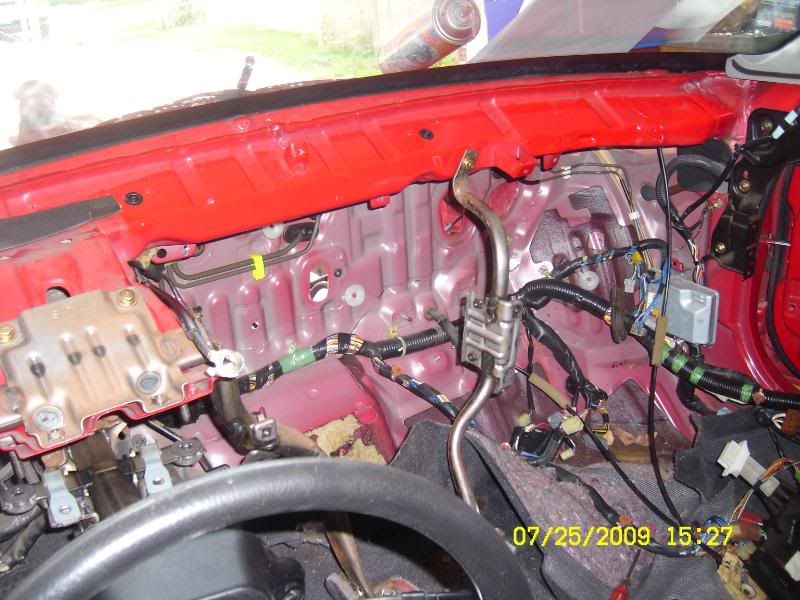
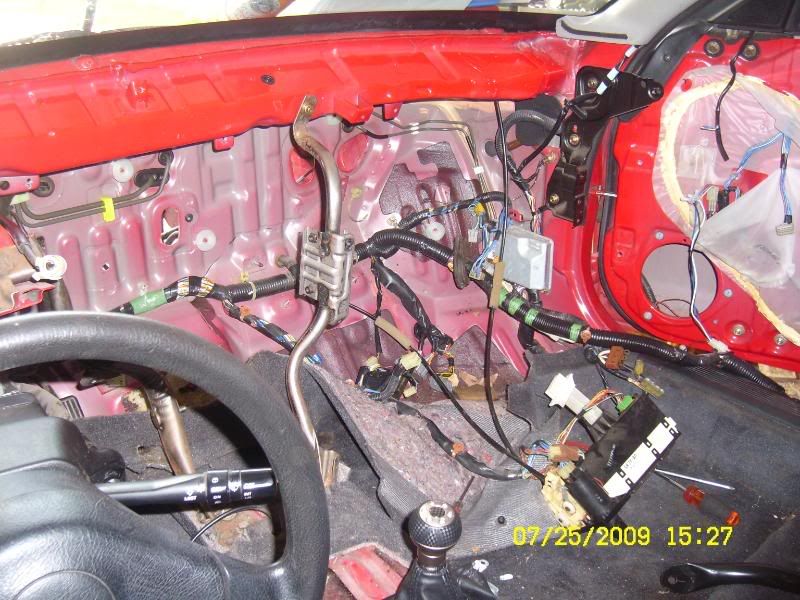
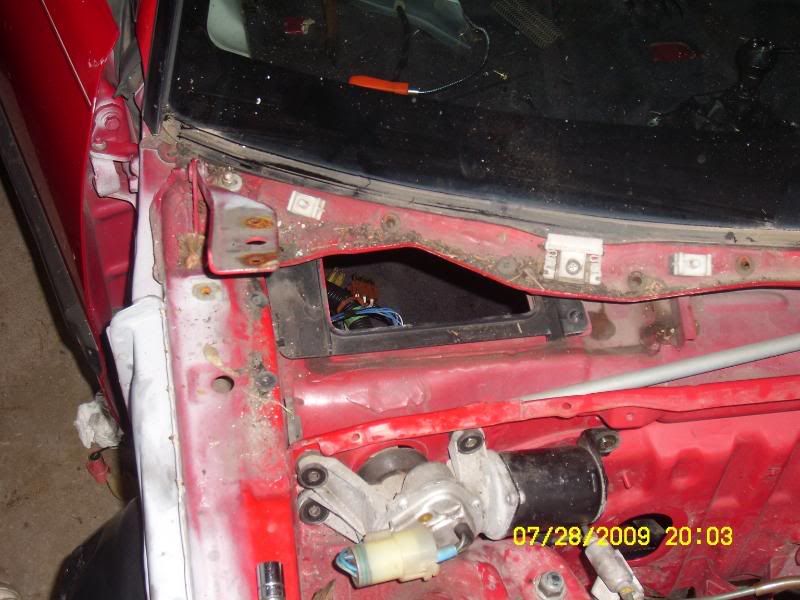
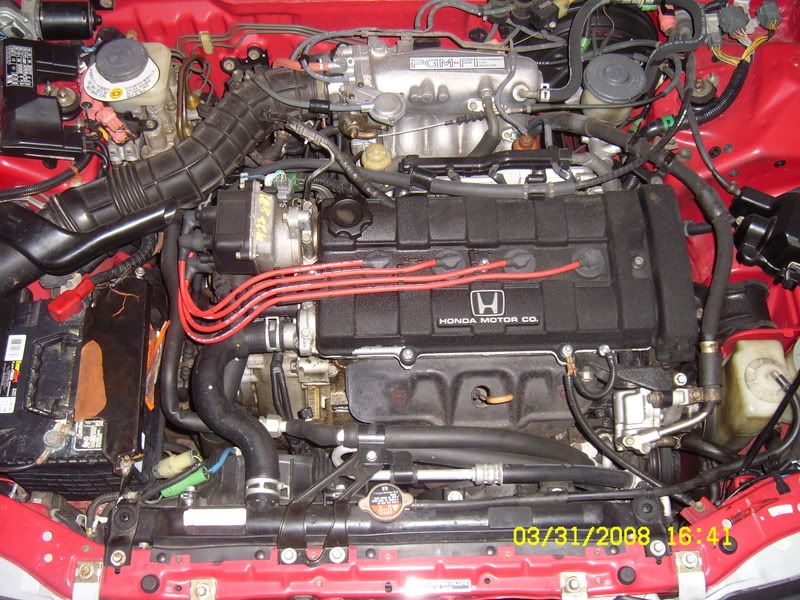
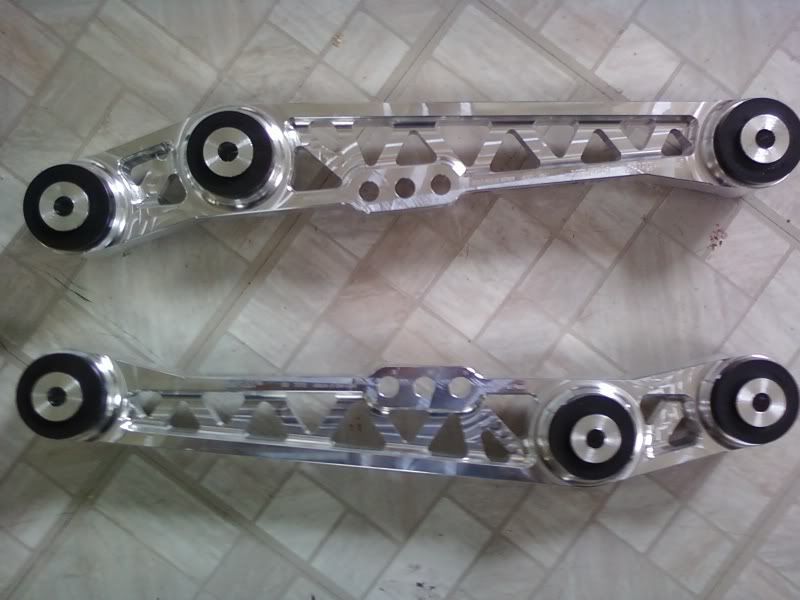
But the little stuff just egged me on. I wanted more. I found myself spending countless hours in a parked car trying to figure out how to actually start the build. Do I go for performance? Do I do the body next? so many different angles. But one thing I was sure of was whatever I was going to do I wanted to do it right and proper. No regrets for missing parts here. I picked suspension, but heres a clean pick of the bay anyway.

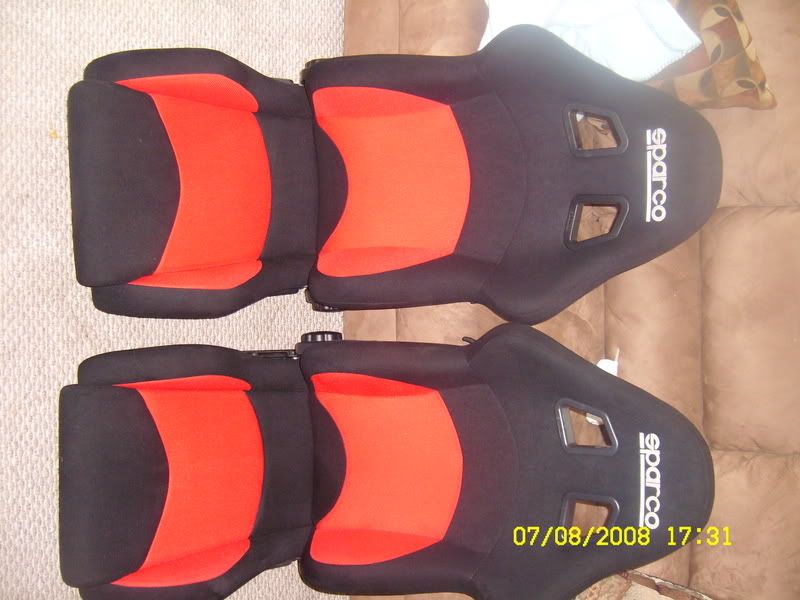
While trying to figure out where to start with the suspension I came across an awesome deal on my Sparco’s. Can’t wait to put these babies in. I mean they have made an awesome show piece in my spare room for the past year but I want more…

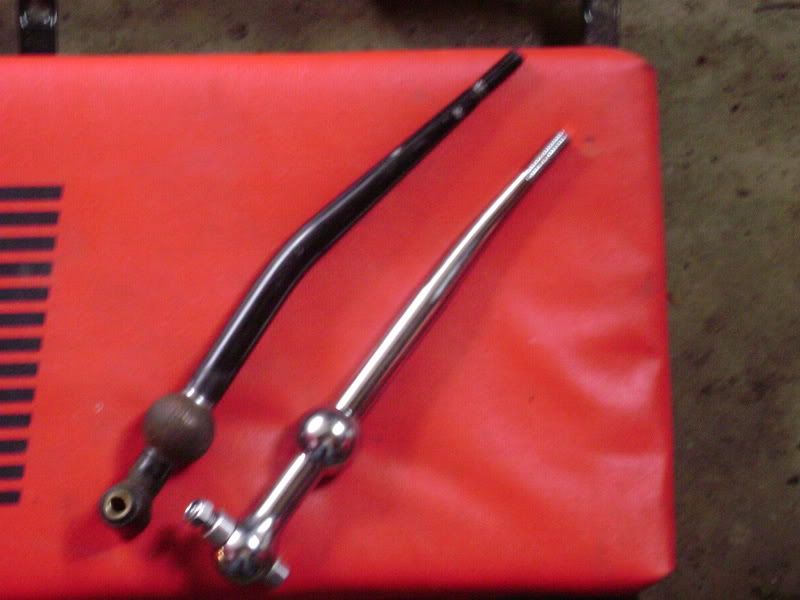
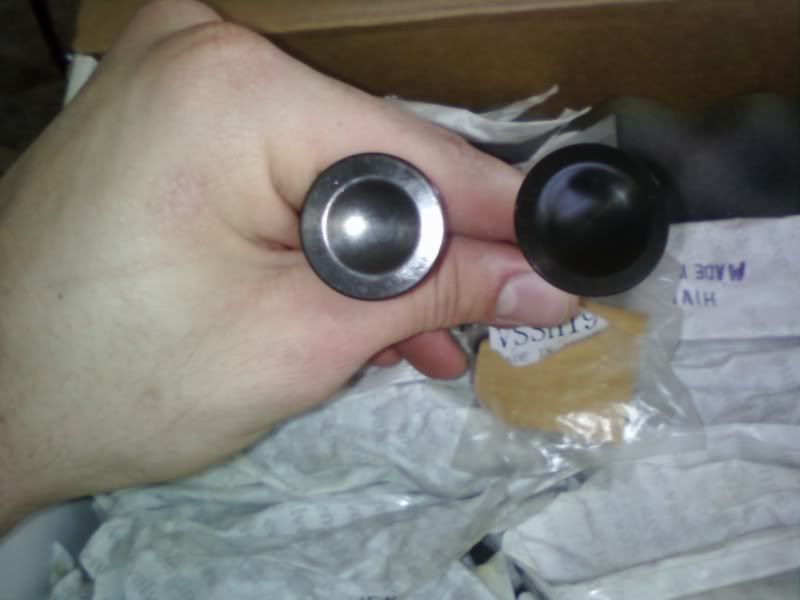
My first suspension pieces show up.

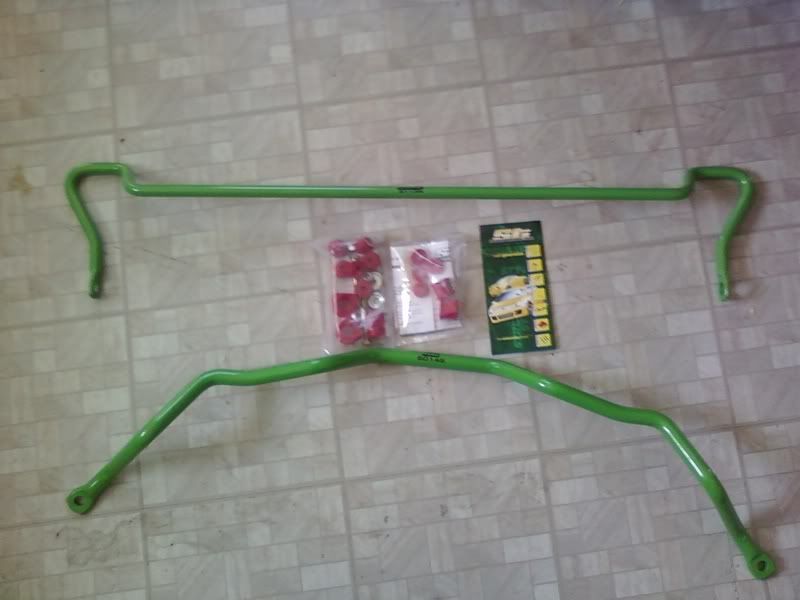
Opening the box felt so good I just had to order more parts.

But then I got these. I mean sure I was focusing on the suspension first but Supertech Nitride coated +5 valves for $100. Yeah I bought them.

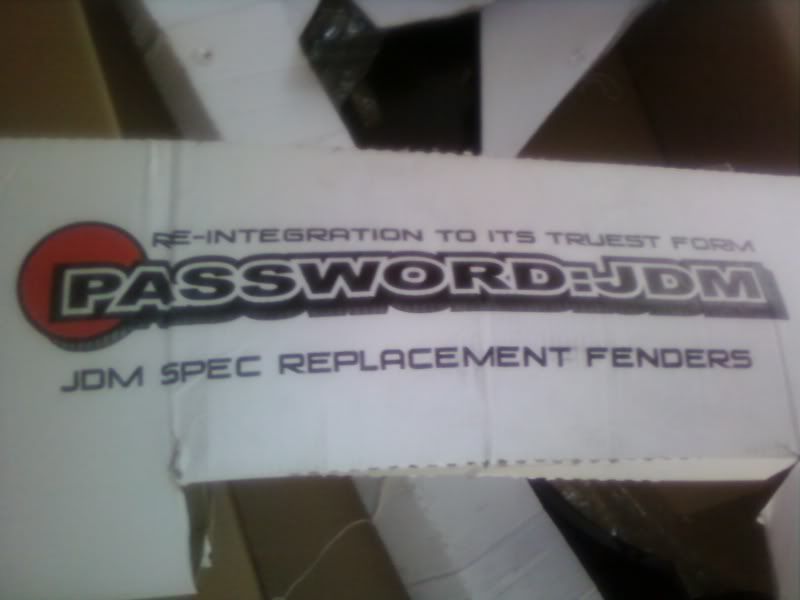
Then another awesome deal popped up. I had been looking at password JDM’s fenders for a long time. But they cost so damned much. But when I was offered $300 shipped I jumped at it.

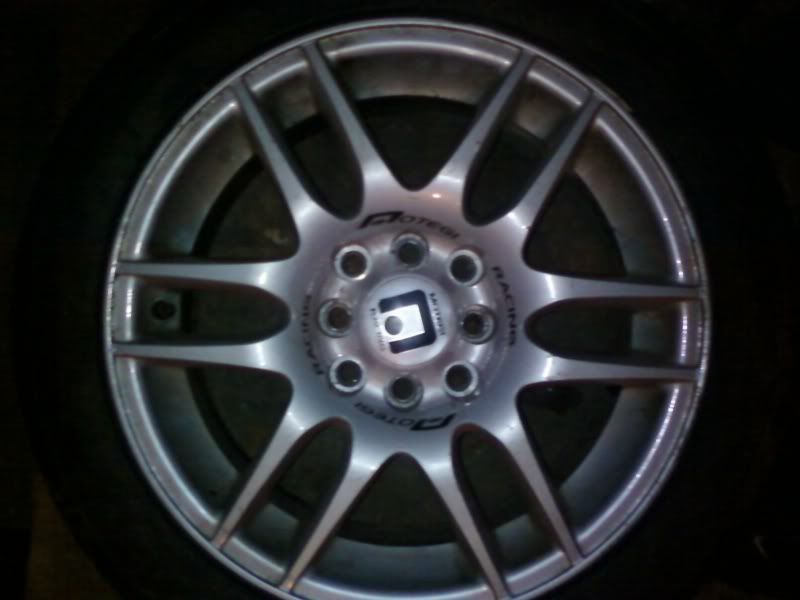
A guy at work had built a Honda and we talked about them all the time. builds, ideas and so forth. Then one day he comes to me and says “hey I have some rims in my car if you wann look at them. I don’t have my car anymore and could use the money”. I went out and looked and to my surprise they were 15" Motegi’s with BRAND NEW never driven on tires. Only down fall was a little red overspray (still haven’t gotten it off but they are just sitting in the garage anyway). I agreed on $150 for the set and he asked if I would make payments of $20 a week so he would have money for work. I went to make the first payment and he asked for an additional $10 till Friday. I had no problem with that, he was a good guy so I handed it to him. Then the best part. he said “you know what let’s call it even for the rims.” HELLS YEAH. $30 for Motegi’s

I have more parts but I have to take pics. I will update soon. Feel free to post comments or positive critisism.

Oh and I’ll be starting my wire tuck tomorrow. The motors pulled out and I spent all last night planning things out so any tips in this aspect would be great. Thanks.

While wire-tucking, make sure your grounds (relocated grounds) are exceptional. I’ve seen tuners stop tuning cars due to dips in the dyno because of poor grounds on wire-tucked cars.

Thanks for that. Deffinately something I will keep an eye out for. Never would have thought about it till the issue showed up.

I hate to be the bearer of bad new, but you going to have issues mounting up the rear sway bar and the ASR brace. I figgured this out the hard way :frowning:

Looks like you off to a good start:up:

would you mind throwing in a HID kit into those projectors? i’m interested to see the cutoff.

nice lookin build, it looks to be a fun project. keep up the good work

[QUOTE=BLKACK1;2051208]I hate to be the bearer of bad new, but you going to have issues mounting up the rear sway bar and the ASR brace. I figgured this out the hard way :frowning:

Looks like you off to a good start:up:[/QUOTE]

Thank you and I hope not. Were you using an ST sway bar? I’ve been trying to sell this one (brand new) to cover the cost of the progress bar, so hopefuly someone will eventualy buy it before the install.

Lol, I’ll tell you what, you send me the HID kit and I’ll install it. Sorry but unless I can figure out a way to eliminate scatter from any of the DA’s headlights I can’t see buying the HID’s.

Thank you.

Pics of today’s work

I didn’t do this I swear…

lookin good bud :rockon:

Thank you

More pics up later today or tomorrow. A few parts and a lil further in the work.

Today’s update. Pulled passenger side harness through firewall, pull out blower motor and heater core, all that’s left is to pull back the fuel lines, 2 brake lines and drivers side harness (which will be the worst of course!)

and a word to the wise, be weary of heater core hoses that still have anti-freeze. It dumped right into my lap and no one told me untill actually leaked through my shorts. Should of known since my dad instantly started searching for the camera… dick. :wink:

not sure how far you are going, or if you plan on replacing the seals or not… but is there any way i could get you to snap a few pics of the cowl that covers the passenger cabin air intake? its the cowl with the rubber seals that tend to leak water into the blower, and passenger side floor.
http://www.g2ic.com/tegtips/interior/15.html

just curious what i will be getting myself into if i order the seals. (tired of wet floor mat, it rains alot in florida. hah)

Sure I’ll try and grab pics of it later today.

thats a lot of work you have done.

I am using a ST bar, I would deffinatly sell it and upgrade it to a progress bar. theres a couple of guys out here in dever I know would love to take it off your hands if you do decide to sell it:)

[QUOTE=BLKACK1;2052152]thats a lot of work you have done.

I am using a ST bar, I would deffinatly sell it and upgrade it to a progress bar. theres a couple of guys out here in dever I know would love to take it off your hands if you do decide to sell it:)[/QUOTE]

I actually do want to sell the rear ST bar. I have a for sale thread on here but if you know someone interested let me know. And thanks. I did some more work today but didn’t get any pics. Really all I have left is to pull the drivers harness through and to drop the front suspension. If anybody has a Manual rack from a 88-91 CRX they want to get rid of let me know.

an update…

And for the kid who asked heres the pics of the cabin filter. To my surprise I didn’t even have a filter in there. Nice job previous owner!!!

not a kid. but ty. :wink: i will be 30 at the begining of august. i didnt think theres suposed to be a filter there anyway.

I just wanted to see the small inner cowel before it was removed, so i could see how it was in there covering that hole, and how it was held in place. along with the screws and 8 small white rubber seals.

but between your pics and the teg tip i think i should beable to figure it out.

thank you.

edit, just found this with more pics too, might help you a bit when you reassemble it, so you can be sure it wont leak. :smiley: looks like yours could use a re-foam & new white seals too. http://www.g2ic.com/forums/showpost.php?p=2012426&postcount=1

Lol yeah. And sorry. I just call everyone kidd. But I plan on siliconing that piece back on any how. I hate plastic screws, some of them wouldn’t come out so I just popped them loose. All together I think there are around 8 of them, and two rubber push clips (not sure if you can get these out undamaged). Other then that it was pretty simple.

Oh and those white clips you are seeing are just plastic pop up tabs. They are what hold the main cover on (that a a few push tabs on the edge, I used a pair of pliers from underneath for these). I used a screw driver to pop them out, and some of them may come out in two pieces, but they just snap back together so don’t freak if they seperate.